Understanding gluten-free ingredients
In the intricate tapestry of the gluten-free lifestyle, the understanding of gluten-free ingredients transcends mere dietary adjustments; it evolves into a veritable exploration of nature’s bounteous offerings. Gluten, a protein found predominantly in wheat, barley, and rye, exerts a binding effect in foods, a quality that many consumers may yearn for when navigating the intricate nuances of alternative ingredients. However, the world of gluten-free substitutes reveals a rich palette of flavors and textures, inviting both the weary and the adventurous palate to delight in new culinary discoveries.
A common misconception dictates that gluten-free diets must consist solely of bland, uninspired fare. Contrarily, an enlightened approach unveils a plethora of grains and flours, such as almond flour, coconut flour, rice flour, and chickpea flour, each possessing distinct attributes that can invigorate traditional recipes. Almond flour, for instance, lends a luscious nuttiness and moistness to baked goods, while coconut flour, with its naturally sweet profile and high fiber content, offers an unparalleled texture that is nothing short of transformative. Rice flour, especially when finely milled, provides an excellent base for light batters and is an integral component in many Asian culinary traditions, serving as a humble reminder of cultural adaptability and innovation.
Ensuring a balanced intake while adhering to a gluten-free regimen can also involve an exploration of pseudo-grains, such as quinoa, buckwheat, and millet. Though the nomenclature may imply otherwise, these seeds present an array of nutritional benefits, offering protein, fiber, and essential amino acids. Quinoa, often hailed as a ‘superfood,’ boasts a complete protein profile and lends itself beautifully to salads, pilafs, or as a filling for piloted stuffed bell peppers.
Amidst the vast cornucopia of gluten-free options, one must also embrace the art of careful labeling and ingredient scrutiny. Packaged goods can often harbor gluten in unanticipated forms, such as malt flavoring or certain thickeners. Thus, a vigilant eye is pivotal to curating a safe selection of foods. The connoisseur of gluten-free living learns to revel in the delightful activity of reading ingredient lists, which, while initially daunting, transforms into an empowering ritual of education and discovery.
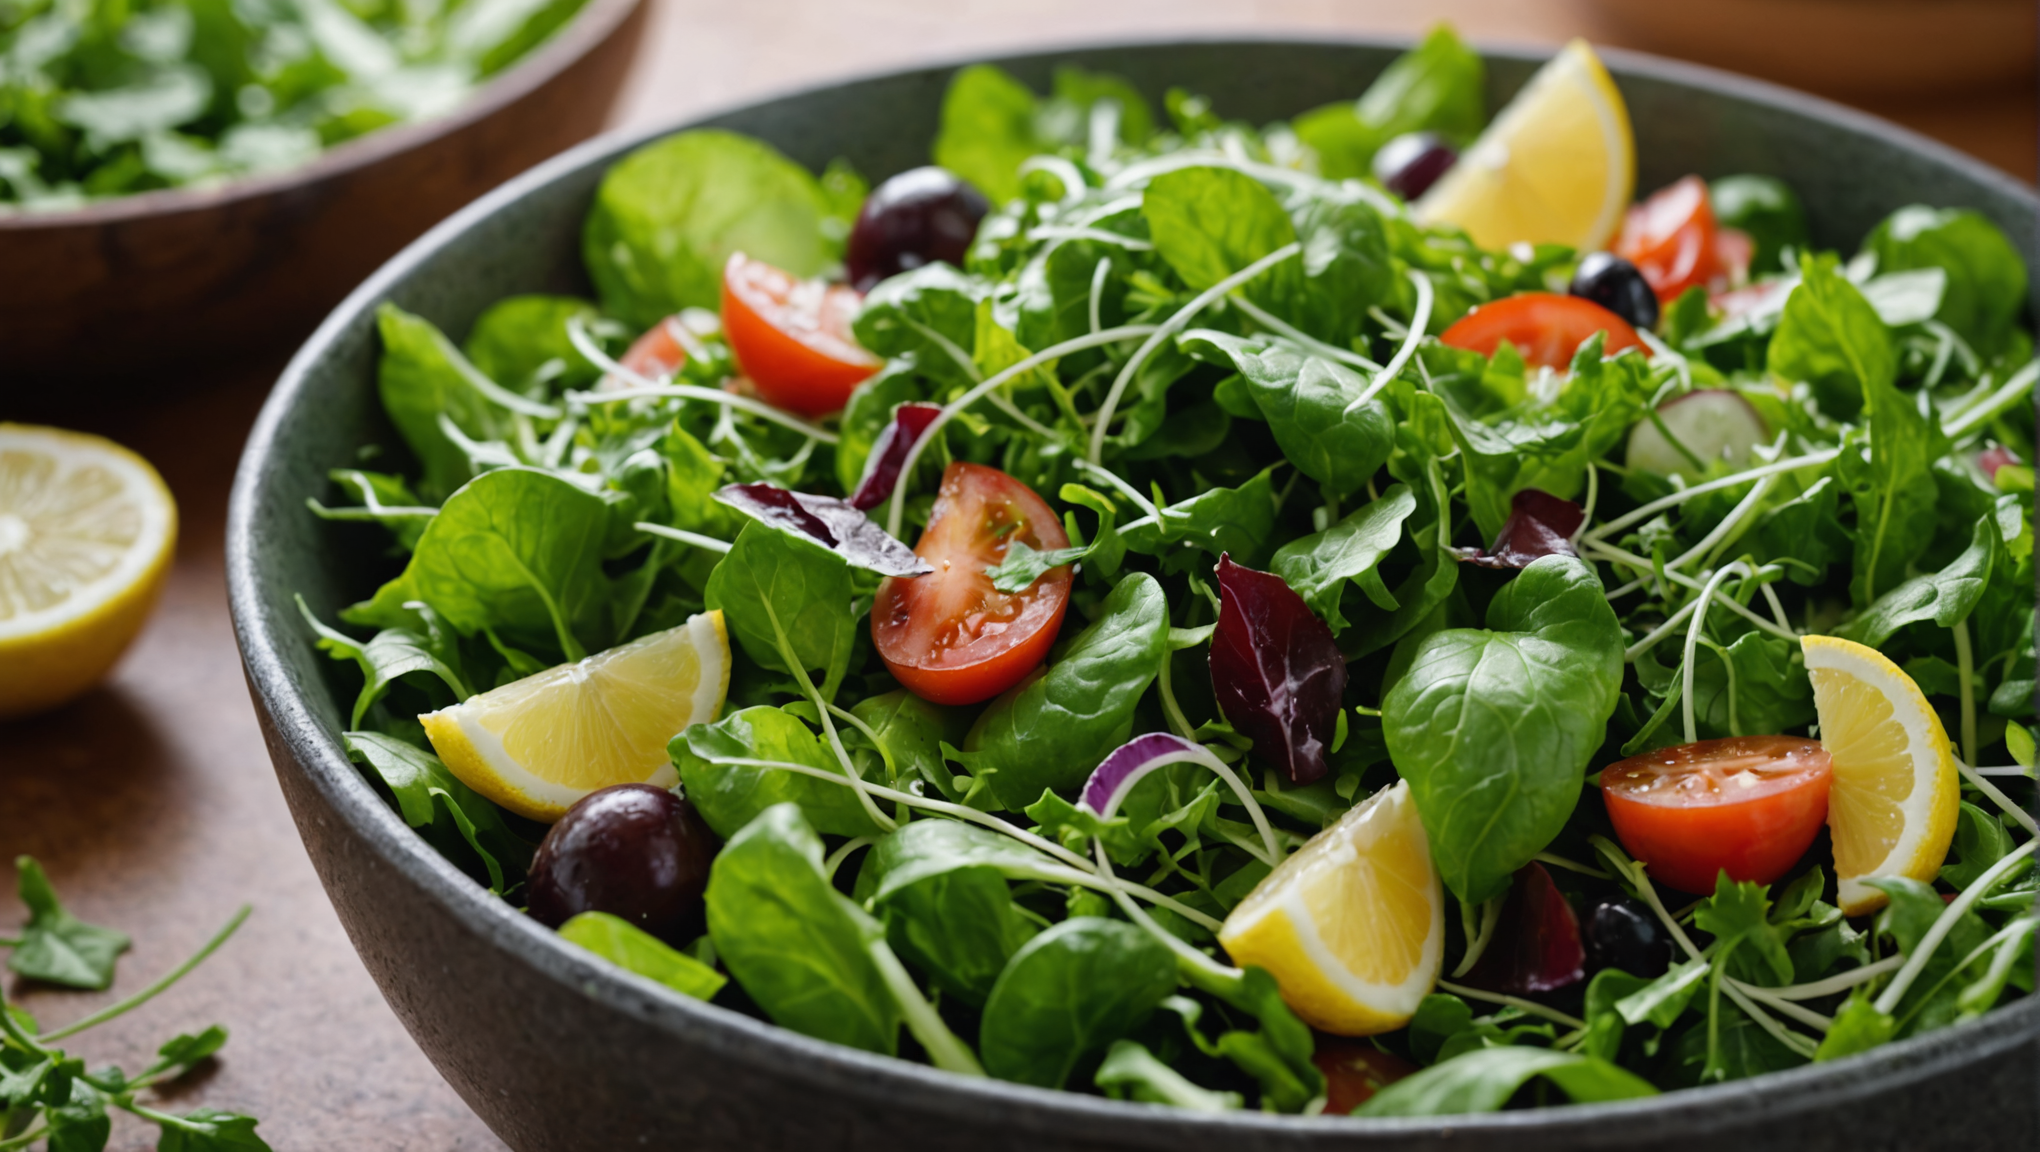
As we continue this exploration, it is essential to celebrate the joy of culinary creation through an exemplary recipe that showcases gluten-free ingredients. Ponder the following detailed endeavor—a vibrant Quinoa and Roasted Vegetable Salad, ideal for a hearty lunch or as an eye-catching side dish for gatherings:
- Ingredients:
- 1 cup quinoa, rinsed
- 2 cups vegetable broth or water
- 1 medium zucchini, diced
- 1 red bell pepper, diced
- 1 cup cherry tomatoes, halved
- 1 red onion, chopped
- 3 tablespoons olive oil
- Salt and pepper, to taste
- 1 teaspoon dried oregano
- 1 cup arugula or spinach
- Juice of 1 lemon
- Fresh parsley, chopped, for garnish
- Instructions:
- Preheat the oven to 400°F (200°C). On a baking tray, combine the zucchini, red bell pepper, cherry tomatoes, and red onion. Drizzle with 2 tablespoons of olive oil, season with salt, pepper, and oregano, then toss to coat.
- Roast the vegetables in the oven for 20-25 minutes, or until tender and lightly caramelized.
- Meanwhile, in a saucepan over medium heat, combine the rinsed quinoa and vegetable broth. Bring to a boil, then reduce to a simmer, cover, and cook for approximately 15 minutes or until the quinoa is fluffy and the liquid has been absorbed. Remove from heat and let it sit for 5 minutes, then fluff with a fork.
- In a large bowl, combine the cooked quinoa, roasted vegetables, arugula or spinach, remaining olive oil, and lemon juice. Toss gently to incorporate all ingredients. Adjust seasoning if necessary.
- Serve warm or at room temperature, garnished with fresh parsley, as an homage to the harmony and richness of gluten-free ingredients.
This salad not only exemplifies how gluten-free ingredients can be both nutritious and flavourful, but it also embodies a spirit of community, encouraging shared meals and treasured moments around the table. When viewed through this lens, one can appreciate that the gluten-free journey is not solely one of restriction, but rather an odyssey toward culinary expansiveness and creativity.
Gluten-free pasta options
As the quest for alternatives to traditional nourishment unfolds, one finds that gluten-free pasta options are testimony to the culinary ingenuity that bridges the gap between dietary necessity and gastronomic delight. The realm of pasta, often thought of as the quintessential comfort food, may initially appear challenging to navigate for those adhering to a gluten-free lifestyle. Yet, a breathtaking variety of pasta substitutes beckons, each embracing a unique identity derived from different grains, legumes, and vegetables, effectively serving both the discerning palate and the purveyor of dietary health.
Among the esteemed candidates that have risen to prominence are brown rice pasta, renowned for its nutty flavor and appealing texture, and chickpea pasta, which embodies protein-rich robustness, boasting inherent fiber that contributes to a satisfying meal. Lentil pasta, with its vibrant hues and hearty profile, offers a delightful alternative packed with nutritional benefits, while zucchini noodles, often referred to as “zoodles,” provide a light and refreshing take, inviting those craving a lower carbohydrate option to indulge without abandon.
To experience the harmonious dance of tradition and innovation, consider crafting your own gluten-free pasta using chickpea flour. This gluten-free flour not only captivates the senses with its earthy undertones but also serves as a nutritional powerhouse, rich in protein and fiber. The process is deceptively simple yet profoundly rewarding, allowing one to take a step closer to understanding the alchemy of ingredient transformation in the kitchen.
Here is an elaborate recipe for creating Chickpea Flour Pasta, a labor of love that serves as a delightful canvas for your favorite sauces and accompaniments:
- Ingredients:
- 2 cups chickpea flour
- 1 teaspoon salt
- 2 large eggs
- 1 tablespoon olive oil
- Water, as needed
- Fresh herbs or cracked black pepper, for seasoning (optional)
- Instructions:
- In a large mixing bowl, combine the chickpea flour and salt; mix them well to ensure even distribution of the salt throughout the flour.
- Make a well in the center of the flour mixture. Crack the eggs into this well and drizzle the olive oil around the edges. Using a fork, begin to whisk the eggs gently, gradually incorporating the surrounding flour to create a cohesive dough.
- Once the mixture begins to form into a dough, use your hands to knead it gently, adding water in small increments if the dough feels too dry. Aim for a consistency this is pliable yet firm, achieving a soft texture this is easily shaped.
- Wrap the dough in plastic wrap and allow it to rest for at least 30 minutes at room temperature; this step especially important as it allows the flour to hydrate fully and facilitates easy rolling.
- After resting, dust a clean surface with chickpea flour and roll out the dough to your desired thickness, typically about 1/8 inch. Using a sharp knife or a pizza cutter, slice the rolled pasta into your preferred shapes, whether tagliatelle, fettuccine, or squares for ravioli.
- Bring a large pot of salted water to a boil and gently drop in the cut pasta. Cook for 2-4 minutes, or until al dente; chickpea pasta cooks quickly, so vigilance is warranted to prevent overcooking.
- Drain the pasta and toss it immediately with your choice of sauce—consider a simple yet vibrant pesto made from fresh basil, olive oil, nuts, and garlic for an exquisite accompaniment—or merely drizzle with olive oil and a sprinkle of herbs for a minimalist delight.
This homemade chickpea flour pasta not only embodies the spirit of innovation inherent in the gluten-free lifestyle, but it also allows the home cook to engage with the ingredients on a deeply personal level. Each ingredient sings its unique note in the symphony of flavors and textures, drawing those gathered around the table into a shared experience that transcends dietary labels. Such is the profound nature of food: it cultivates connection, nourishes the body, and, when joyfully crafted, elevates the soul.
Delicious gluten-free bread substitutions
The art of bread-making, steeped in tradition, presents an inviting challenge for those embracing the gluten-free journey. It requires a delicate balance of science and creativity, where the absence of gluten—often touted as the bond that gives bread its beloved structure—opens the door for innovative substitutions that range from the delightfully unconventional to the exquisitely refined. With a focus on alternative flours and the transformative potential they harbor, one can indeed craft breads that are not only palatable but sublimely enticing.
Among the plethora of options available, almond flour, celebrated for its moistness and nutty flavor, takes center stage when it comes to gluten-free bread recipes. Yet, it is essential to acknowledge that the harmonious marriage of various gluten-free flours often yields even greater results; the combination of almond flour with coconut flour can introduce a lightness and elasticity that recalls the traditional bread experience. Furthermore, the incorporation of tapioca flour enhances chewiness and structure, while psyllium husk powder serves as a remarkable binding agent, mimicking the elusive role of gluten itself.
In creating a loaf that embodies these principles, let us delve into the detailed method of preparing a versatile Gluten-Free Almond Bread, ideal for toasting or enjoying alongside a myriad of accompaniments—from savory spreads to sweet jams:
- Ingredients:
- 2 cups almond flour
- 1/4 cup coconut flour
- 1/4 cup tapioca flour
- 1 teaspoon baking soda
- 1 teaspoon salt
- 1 tablespoon apple cider vinegar
- 4 large eggs
- 1/4 cup melted coconut oil or olive oil
- Instructions:
- Preheat your oven to 350°F (175°C) and prepare a loaf pan by lining it with parchment paper, allowing for easy removal once baked.
- In a large mixing bowl, combine the almond flour, coconut flour, tapioca flour, baking soda, and salt, whisking together to ensure no lumps remain and that the dry ingredients are evenly distributed.
- In a separate bowl, whisk the eggs and add the melted coconut oil and apple cider vinegar; this mixture will impart moisture and a subtle tang that marvelously complements the nutty flavors of the flours.
- Drizzle the wet ingredients into the bowl of dry ingredients, folding gently. The dough will initially appear crumbly, yet with a few strokes of your spatula, it should unify into a cohesive mass suitable for shaping.
- Transfer the dough into the prepared loaf pan, smoothing the top with a spatula to create an even surface. For added texture, sprinkle a handful of sunflower seeds or sesame seeds atop, embedding them slightly into the dough.
- Bake in the preheated oven for approximately 30-35 minutes, or until golden brown and a toothpick inserted into the center emerges clean. The aroma wafting through your kitchen will undoubtedly evoke a homely comfort, reminiscent of cherished moments spent with loved ones.
- Once baked, allow the bread to cool in the pan for about 10 minutes before transferring it to a wire rack. Patience is a virtue here; allowing it to cool completely ensures the bread sets properly, making slicing a more manageable endeavor.
This gluten-free almond bread stands as a testament to culinary adaptability, an ode to the freedoms and possibilities fostered by embracing dietary change. With a texture this is both airy and substantial, and a taste that fills the mouth with reassuring nutty sweetness, this bread possesses the versatility to complement any meal. Spread upon it a simple layer of olive oil and a sprinkle of sea salt, or, for a sweeter counterpart, slather it generously with almond butter and a drizzle of honey. In every bite, one discovers a narrative rich with flavor and wellness—enabling conversations carried forth around the table to flourish as generously as the bread itself. Indeed, to partake in creating this loaf is to engage fully in the shared experience that defines human connections, an endeavor as rewarding as the outcome itself.
Creative gluten-free dessert ideas
In the context of indulgence, desserts possess a unique ability to conjure feelings of nostalgia and delight, weaving joy into the very fabric of our culinary experiences. The gluten-free lifestyle, often perceived as a realm of limitations, unveils a plethora of opportunities for creating exquisite desserts that rival their gluten-laden counterparts. To venture into this delightful domain is to embrace an ethos of creativity and resourcefulness, wherein traditional favorites can be reimagined through the magic of gluten-free ingredients.
Among the many options for satisfying one’s sweet tooth, flourless chocolate cake emerges as a resounding triumph—a dessert that harkens back to the essence of rich chocolate indulgence, while gracefully sidestepping the confines of gluten. This majestic confection, with its dense texture and luxurious dimensions, invites you to revel in every slice, offering a perfect balance of sweet and bitter notes, which harmoniously dance on the palate.
Now, ponder the meticulous act of crafting your own Flourless Chocolate Cake, an endeavor that, though seemingly simple, requires an appreciation for the alchemical transformation of ingredients under the gentle caress of heat:
- Ingredients:
- 1 cup (175g) semisweet or dark chocolate, roughly chopped
- 1/2 cup (115g) unsalted butter
- 3/4 cup (150g) granulated sugar
- 1/4 teaspoon salt
- 1 teaspoon pure vanilla extract
- 3 large eggs
- 1/2 cup (50g) unsweetened cocoa powder (plus extra for dusting)
- Powdered sugar, for dusting (optional)
- Fresh berries or whipped cream, for serving (optional)
- Instructions:
- Preheat your oven to 375°F (190°C). Prepare an 8-inch (20 cm) round cake pan by greasing it generously with butter, then line the bottom with parchment paper, allowing for easy release post-baking.
- In a medium saucepan over low heat, combine the chopped chocolate and unsalted butter, stirring gently until both have melted into a glossy, cohesive mixture. This process allows the chocolate’s deep flavors to meld seamlessly with the butter, creating a luxurious base for your cake.
- Remove the saucepan from heat, and allow it to cool slightly for a few minutes before incorporating the granulated sugar, salt, and vanilla extract. Stir vigorously until well combined; the mixture will thicken and glisten, a promising prelude to the sumptuous dessert that is to come.
- One by one, introduce the eggs into the chocolate mixture, ensuring each is fully incorporated before adding the next. The introduction of eggs not only enhances the richness but also contributes to the cake’s extraordinary structure, resulting in a texture this is both fudgy and ethereal.
- Gently sift the cocoa powder into the batter, folding it in with a spatula until just combined. Take care not to overmix; the goal is a harmonious blend of ingredients without losing the airiness lovingly created by the reactions within the batter.
- Pour the batter into the prepared cake pan and smooth the surface with the spatula. Place the pan in the preheated oven and bake for approximately 20-25 minutes. The cake is done when the edges are set, and a toothpick inserted into the center emerges with a few moist crumbs clinging to it—a testament to its decadence.
- Once baked, remove the cake from the oven and let it cool in the pan for about 10 minutes before carefully inverting it onto a wire rack to cool completely. As it cools, the aroma of rich chocolate will envelop your kitchen, beckoning indulgence.
- To serve, dust with cocoa powder or powdered sugar, and complete the presentation with fresh berries or a dollop of whipped cream, contrasting beautifully with the deep chocolate hues of the cake.
This flourless chocolate cake not only stands as a monument to the artistry possible in gluten-free baking, but it also serves as a link to life’s cherished moments—whether exuberantly celebrated at birthdays, quietly savored beside a warm cup of tea, or shared as a gesture of love and comfort among friends. Each bite offers not merely a taste of sweetness, but an invitation into a world where gluten-free can mean just as indulgent, just as satisfying, and infinitely decadent. Thus, as one embarks on this culinary adventure, it becomes abundantly clear that within the walls of gluten-free baking lies an expansive landscape of possibility, where even the most traditional of desserts can thrive and flourish anew.
Replacing traditional snacks with gluten-free choices
Amongst the vibrant landscape of snacks that accompany our daily lives, those traditionally laden with gluten often hold a place of esteemed familiarity, embodying a cherished comfort that many find challenging to relinquish. However, the gluten-free lifestyle offers an avenue rich with creativity and innovation, inviting a reinvention of these beloved favorites. As we traverse this delicious journey, we shall discover delightful substitutions that not only satisfy cravings but also enrich one’s overall wellbeing.
Ponder, for instance, the classic potato chip, a staple of snacking culture that, while undeniably satisfying, often lacks the nutritional punch one might seek. A gratifying alternative lies in the crisp, wholesome nature of zucchini chips. This versatile vegetable, easily transformed into an irresistible snack, serves as a canvas for an array of tantalizing flavors. What’s more, the simplicity of preparing zucchini chips ensures that one can indulge guilt-free, transforming the humble vegetable into an exquisite culinary marvel.
To embark upon the delightful venture of creating Zucchini Chips, follow this intricately detailed recipe that merges healthful ingredients with culinary finesse:
- Ingredients:
- 2 medium-sized zucchinis
- 2 tablespoons olive oil
- 1 teaspoon sea salt
- 1/2 teaspoon garlic powder
- 1/2 teaspoon onion powder
- 1/2 teaspoon paprika (smoked for added depth, if desired)
- Freshly cracked black pepper, to taste
- grated Parmesan cheese or nutritional yeast for a savory twist
- Instructions:
- Begin by preheating your oven to 225°F (107°C); this low-temperature baking will coax the moisture from the zucchini while leaving behind crisp, enticing chips.
- Slice the zucchinis evenly, aiming for approximately 1/8 inch thick. A mandoline slicer works wonders for achieving uniform slices, which ensures even cooking and delightful texture.
- In a large mixing bowl, toss the zucchini slices with olive oil, ensuring an even coating. Following this, sprinkle the sea salt, garlic powder, onion powder, paprika, and black pepper over the zucchini, tossing once more to incorporate the flavors fully.
- On a baking sheet lined with parchment paper, arrange the zucchini slices in a single layer, avoiding overlaps to facilitate even crisping. This meticulous placement enhances not only the visual charm but also the texture of the final product.
- Place the baking sheet in the preheated oven, allowing the zucchini to bake for 1 to 1.5 hours. Halfway through the baking process, gently flip the chips to ensure they crisp uniformly. You’ll know they’re ready when they turn golden and are firm to the touch, with a delightful crunch awaiting discovery.
- Once perfected, remove the chips from the oven and let them cool on the baking sheet for a few moments, where they will further crisp up as they cool.
- If feeling adventurous, sprinkle a dusting of grated Parmesan cheese or nutritional yeast while they are still warm, heightening the savory experience with a decadent yet healthful flourish.
These zucchini chips not only showcase the versatility inherent within the gluten-free spectrum, but they also reveal an indulgent facet of vegetable consumption—transforming a commonplace ingredient into a gourmet experience that captivates the senses. As one sits to enjoy these crispy delights, dipping them perhaps into a homemade guacamole or a vibrant salsa, it becomes evident that gluten-free snacking need not compromise satisfaction for health. Instead, it opens a portal to culinary exploration, where flavors intertwine, and nutritional consciousness enriches the act of sharing and savoring.
As we delve into the possibilities unfurling within the realm of gluten-free snacks, let us be reminded that our dietary choices not only nourish us but also weave a narrative—a reflection of our evolving preferences, creativity, and the sociocultural tapestry that surrounds food. Thus, the journey continues, filled with vibrant flavors and cherished moments, inviting us all to partake in this delightful revolution, transforming what once was into a celebration of health and enjoyment.