The Basics of Baking Gluten-Free
Transitioning to gluten-free baking can feel a bit like stepping into a new world—exciting and slightly intimidating. Fear not, intrepid bakers, because once you get to know the fundamentals, you’ll be creating mouthwatering baked goods that just happen to be gluten-free! One of the first things to understand is that gluten, which is found in wheat, barley, rye, and triticale, provides elasticity and strength to traditional baked goods. Without it, baking becomes a delicate balancing act of ingredients to achieve the right texture and flavor.
Now, let’s talk flour—because when you’re going gluten-free, the flour isn’t just flour anymore. It’s a blend of rice, potato, tapioca, maize, or buckwheat flours, and each brings its unique qualities to your baking. You’ll learn to use xanthan gum or guar gum as replacements for gluten’s binding properties. As for sugar and fats, these remain the trusty old friends from the traditional baking world helping to enrich flavor and contribute to that tender crumb we all love in a good cake or cookie.
Baking gluten-free is not just about substitution; it’s about innovation. With the right mix of flours and binders, you can recreate classics like pies and pastries that everyone can enjoy. Along with the taste, baking gluten-free comes with benefits. By excluding gluten, you might be easing digestive discomfort for those with gluten intolerance or celiac disease and making your kitchen a welcoming place for all eaters.
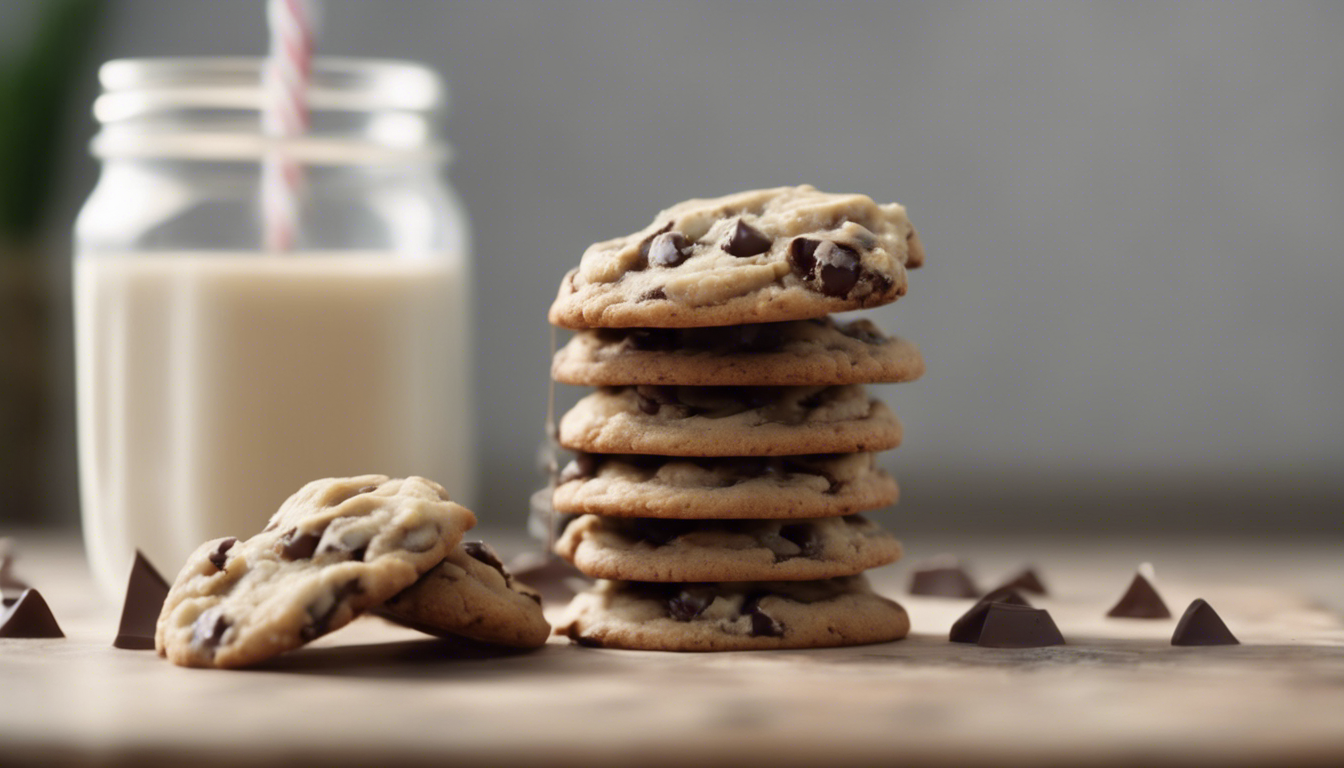
Are you ready to get your hands dusty with gluten-free flour? Let’s keep it simple for our first adventure and bake some classic gluten-free chocolate chip cookies that could charm the socks off any dessert enthusiast. Think golden edges with chewy middles studded with melting chocolate chips—a true delight to ignite your passion for gluten-free baking!
Set your oven’s anticipation to 350°F (175°C) and line those baking sheets with parchment paper—you’re about to become a gluten-free baking wizard!
Choosing the Right Gluten-Free Flour Blend
Picking the right gluten-free flour blend is like choosing the best paint for a masterpiece—it’s important to the final product, and let me tell you, not all gluten-free flours are created equal. Imagine each flour as a unique character in a play; they all have their roles that are essential to the final performance—your delicious cookie!
While some intrepid souls like to mix their own blends at home—carefully measuring rice flour, potato starch, tapioca flour, and perhaps a pinch of xanthan gum for that stretchy, chewy feel—others prefer the convenience of ready-mixed store brands. These premade blends have done the hard work for you, balancing the blend to mimic the properties of wheat flour so closely, your taste buds might not even notice they’ve gone gluten-free!
This recipe calls for a store-bought all-purpose gluten-free flour blend—one that includes xanthan gum in the mix. Why xanthan gum, you ask? It’s our stand-in for gluten, helping to give our cookies that delectable structure and texture. But remember, my fellow bakers, brands vary, so double-check your blend has this essential ingredient. If it doesn’t, you’ll need to add about 1/4 teaspoon of xanthan gum per cup of flour to keep your cookies from crumbling apart.
Let’s dive into the cookie dough:
- 2 1/4 cups all-purpose gluten-free flour blend (with xanthan gum)
- 1 teaspoon baking soda
- 1/2 teaspoon salt
- 1 cup unsalted butter, softened
- 3/4 cup white sugar
- 3/4 cup packed brown sugar
- 1 teaspoon vanilla extract
- 2 large eggs
- 2 cups gluten-free chocolate chips
In a large bowl, whisk together your gluten-free flour blend, baking soda, and salt. These dry ingredients will set the stage for the tasty little adventure we’re embarking on. In another bowl, cream together the softened butter with white and brown sugars until you have a fluffy and light mixture—think of it as preparing a fluffy cloud to carry our chocolatey dreams. Beat in the vanilla extract and eggs, one at a time, until each is well incorporated and you have a silky batter beckoning those dry ingredients to join in.
Gradually add your dry blend to the butter mixture and stir until just combined—overmixing is a no-no, as we want tender cookies, not tough cookies! Once your cookie batter is feeling just right—like a soft pillow on a cozy bed—it’s time for the star of the show: chocolate chips! Gently fold them in until they’re evenly distributed like little treasure within.
Scoop tablespoonfuls of dough onto your lined baking sheets, giving them room to spread into their full cookie potential. Then pop them into your preheated oven and bake for about 10-12 minutes. You’re aiming for that sweet spot where the edges are slightly golden and the middles still soft—a magical zone where cookie dreams come to life!
Retrieve those beauties from the oven and let them cool on the sheets for a few minutes—they’re still gathering their composure. Then move them to a wire rack to finish cooling, or if you’re like me, sneak a warm one straight to your taste buds for that melt-in-your-mouth experience.
Happy baking, my gluten-free friends!
Perfecting the Gluten-Free Chocolate Chip Cookie Recipe
Remember, dear cookie aficionados, patience is your ally in achieving the ultimate gluten-free chocolate chip cookie experience. These cookies might look a tad puffy right out of the oven but don’t be fooled—allow them to cool for a few minutes on the baking sheet before you transfer them and they will gently settle into that familiar cookie shape we all adore.
The art of perfecting these gluten-free gems also lies in not skimping on the quality of your ingredients. Make sure the butter is softened to room temperature for that creamy blend with the sugars. And when it comes to the chocolate chips, feel free to get creative! Use semi-sweet, dark, or even milk chocolate chips—or why not a combo for extra decadence? Try throw in some gluten-free chocolate chunks or nuts to add texture and deepen the flavor profile. After all, it’s your masterpiece.”
Let’s talk about technique for a moment, shall we? Folding in those chocolate chips shouldn’t be like a race—gentle, loving folds will treat your dough with the respect it deserves, keeping those cookies airy and making sure every bite comes with a chocolaty surprise. And for scooping, a spring-loaded cookie scoop works wonders for getting consistent sizes, ensuring even baking and picture-perfect cookies.
Oh, and one last secret before you slip on that oven mitt: refrigerating the dough for an hour before baking will make a world of difference. It helps the flavors to meld together and prevents the cookies from spreading too much in the oven.
When your kitchen fills with that irresistible aroma and you pull those trays from the oven, you’ll know it’s time to celebrate the magic you’ve created. Let them cool—if you can resist the temptation to nibble straight away—and get ready to delight your senses.
Whether it’s for a cozy evening treat, a thoughtful gift for a friend with dietary restrictions, or simply because you deserve some homemade goodness, these gluten-free chocolate chip cookies are sure to hit the spot. Serve them to guests with confidence, or savor them alongside your favorite cup of tea or coffee, and revel in the joy of inclusive, scrumptious baking. Enjoy!
Tips for Storing and Enjoying Your Gluten-Free Treats
Alright, sweet tooths and gluten-free warriors, let’s spill the beans—er, cookies—on how to keep these delicious morsels as fresh as the moment they charmed their way out of your oven. First off, let’s talk containers. You’re going to want an airtight container for the job; it’s like a comfy little cabin for your cookies to hibernate in. Pop them in once they’ve completely cooled—that’s important. Warmer cookies lead to steam, and steam leads to sogginess. That’s not the dream we’re after!
Now, how long can you treasure these beauties? Room temperature is your friend for the short term, think about 3 to 4 days (if they last that long!). Keep them in their cozy container on the counter, away from direct sunlight like they’re treasured artifacts in a museum.
If you’ve got self-control of steel and are thinking longer-term, then waltz those cookies into the freezer. Just layer them with parchment paper in a freezer-safe container or zip-lock bags to avoid them turning into one giant cookie lump. They’ll play it cool in there for up to 3 months. Just remember to thaw them at room temp before devouring—no one likes a cookie with freezer burn.
Now, for maximum enjoyment, there’s something magical about a warm cookie—heck yes! If you’ve stored them in the freezer or if they’ve been sitting out and you crave that fresh-baked warmth, give them a quick zap in the microwave for about 10-15 seconds or pop them into a warm oven for a couple of minutes. Watch as they get that gooey chocolate melt and that aroma that sends your senses into a frenzy all over again.
Embrace the art of pairing these gluten-free treats with your favorite drinks. Imagine this: you’ve got a smooth, creamy latte in hand, and each sip is followed by a bite of chocolate chip bliss—a sensory waltz that keeps you coming back for more. But don’t stop there! For those of you who enjoy a good book with your snack, why not make it an evening ritual? Cozy blanket, good read, and a plate of delightful gluten-free chocolate chip cookies just within reach.
And let’s not forget about sharing the love. Gluten-free cookies make thoughtful gifts. Wrap them up in some pretty packaging, tie it up with a bow, and watch your friends beam with gratitude. It’s not just a cookie; it’s a gesture that says, “I care about delicious inclusivity!” Enjoy your treats, share them generously, and bake on knowing you’ve mastered the art of storing and savoring gluten-free wonders!